March 29th.
Having run out of funds for now for the garden bit of the railway I have turned my attention to the storage yard boards in the shed. I have the plywood and battening already. This was meant to be the winter job for my next leave but the weather is too good to waste. So out with the jigsaw, pencils, laser line, set squares and away I went.
I have decided that the stock on the Applebee and Lavendar line will represent my life. Its going to be a right old mish mash of locos but thats just fine by me. Each one will have a story and memories with it. I was born in Portsmouth in the UK in 1960 and my mum and dad would take me on the Hayling Island line to the beach in the early 60s. Rails of Sheffield have pre-released an A1X terrier loco which is exactly what the Hayling Island 'Puffing Billy" was so I have pre ordered one in the early BR crest. They are to be made by Dapol which will be a first from that manufacturer for me. Other locos I hope to get will be a class 55 deltic as I spent some years growing up in the North East of England and would stand at the side of the railway near a place called Killingworth feeling the earth move as a Deltic would thunder by on the East Coast mainline. Got to get a Black Five as that was the first loco my mum bought me as a kid. Its long gone now but another is a must. There are others but they can wait for now.
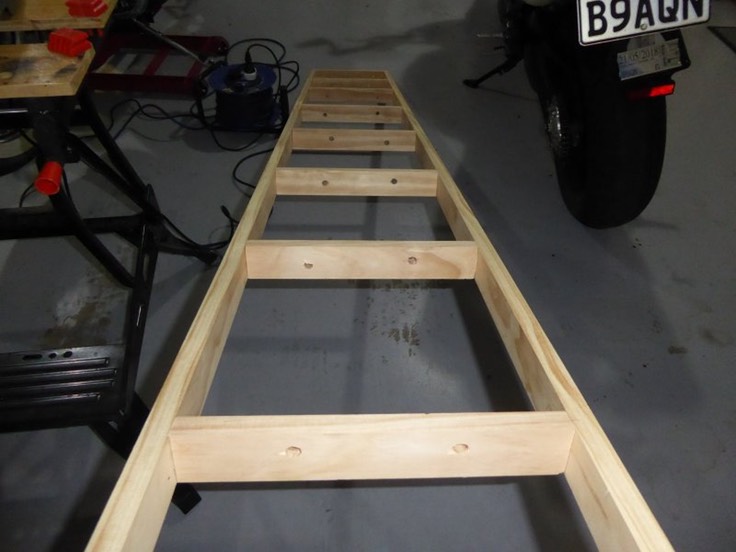
So here are a few photos of todays efforts. The battening is 50x25mm and once its all dry I will screw a 12mm ply top on and fit it into the shed. Constructing the frame on the concrete floor kept it true as the floor is level. Made life a lot simpler. I drilled some holes in the cross bracing though which I can run the bus wires later.I dont know about you but there is something immensely satisfying working with wood. Cant put my finger on it but drilling and glueing and screwing it all together is quite cathartic!


Corner piece goes in
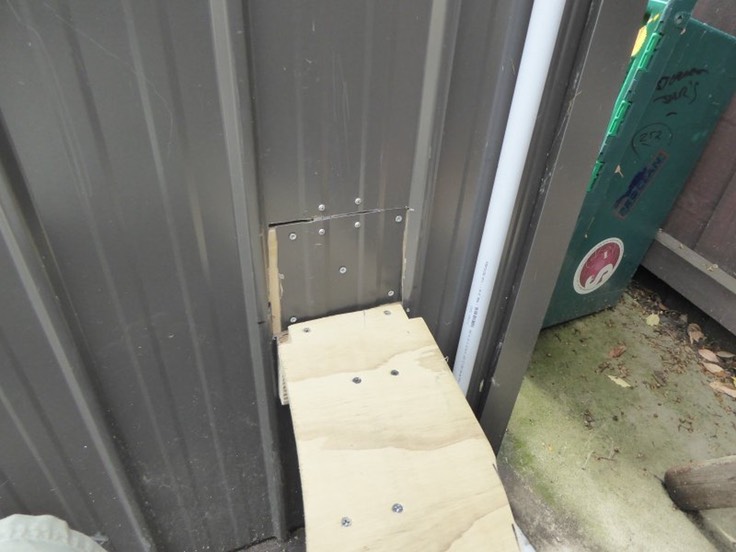
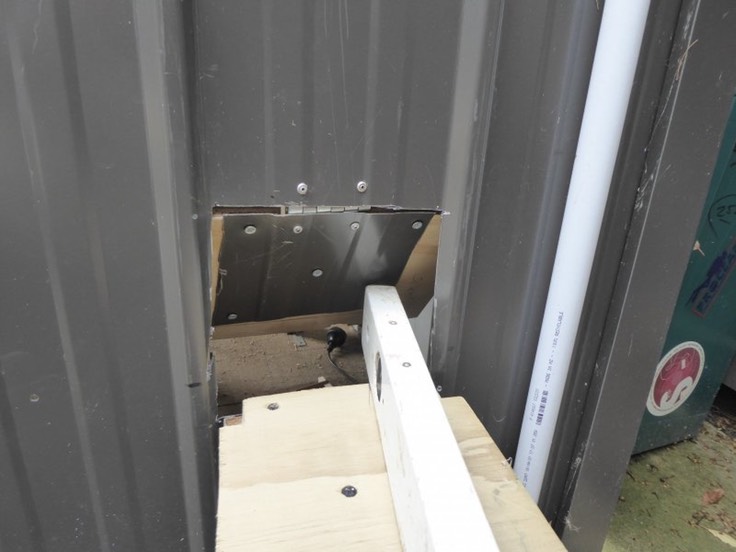
The past two days I have been busy getting the corner plywood curve fitted and cutting out the hole into the shed. It is a metal shed so I used the angle grinder to cut the hole and fitted a plywood back to the cutout bit for strength. Big mistake. The angle grinder was too vicious but it cant be "uncut" so I will have to live with it for now. I dont have a dremel which would have been a bit more delicate lets say. Pop riveted a hinge and thats done. That gives me a level in the shed now for the storage yard boards.
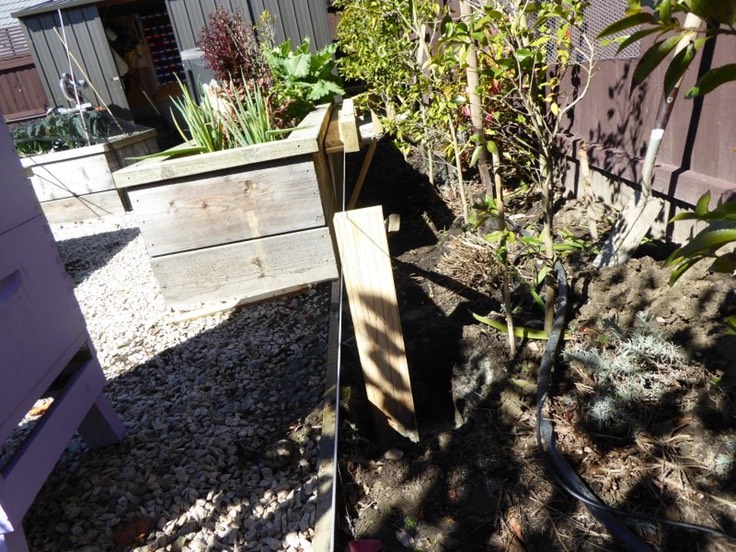
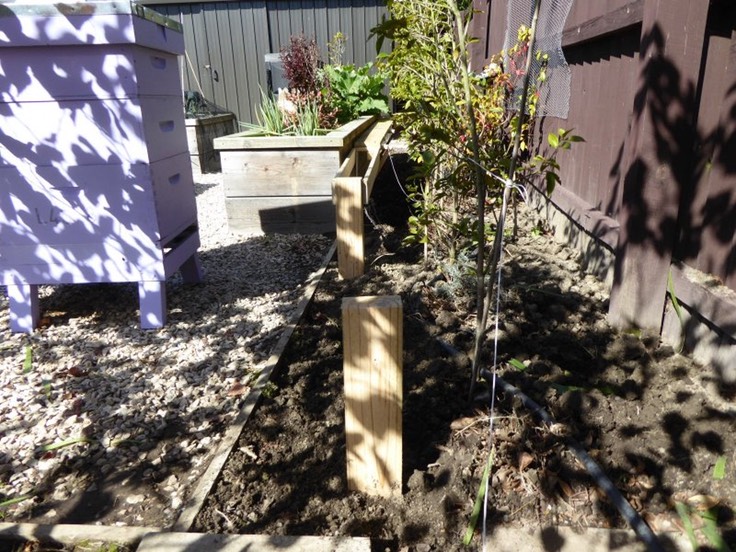
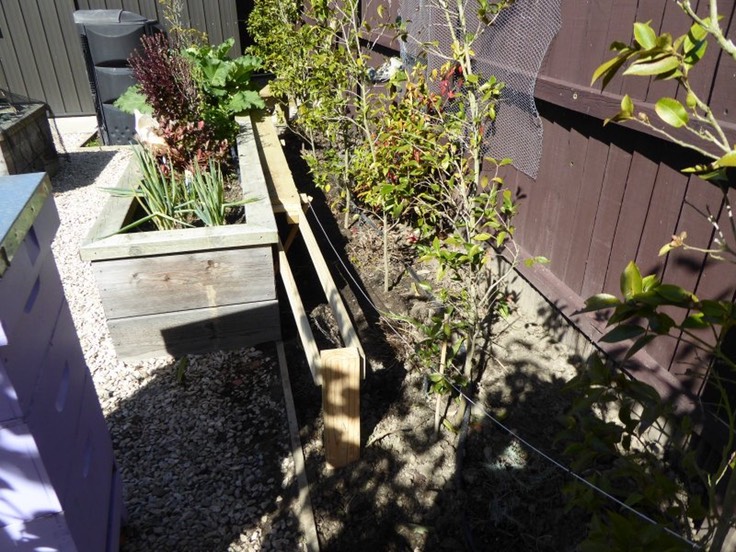
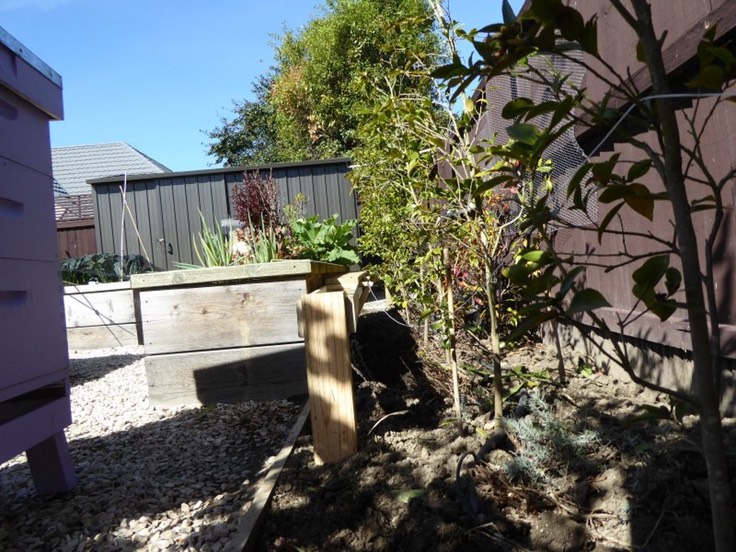
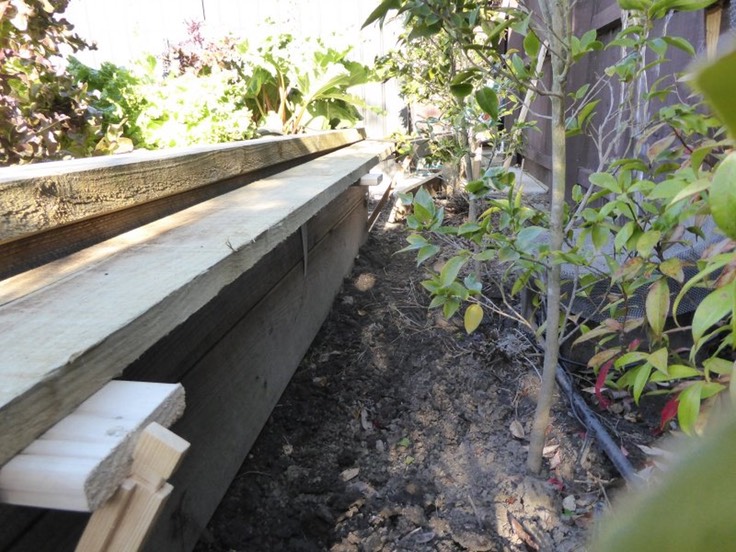
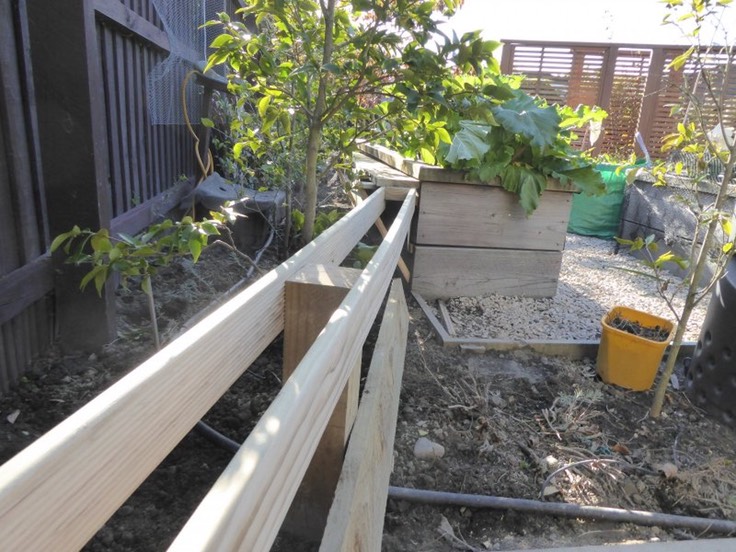
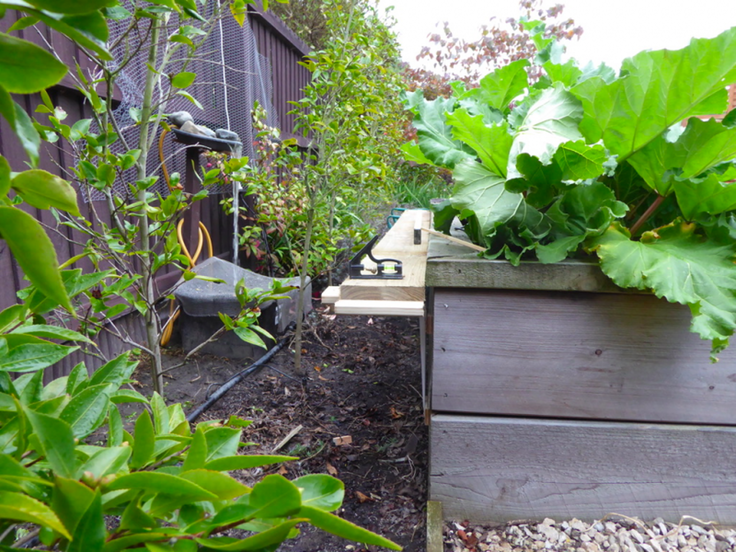
I have sunk two further posts into the ground and cemented them in place. I cut the 100x100 posts in half as I think that 100x100 posts are way too much and 100 x 50 is more than adequate. Time will tell.
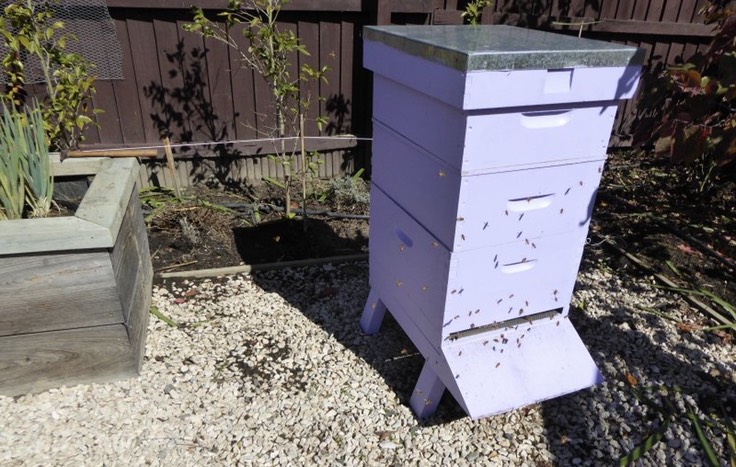
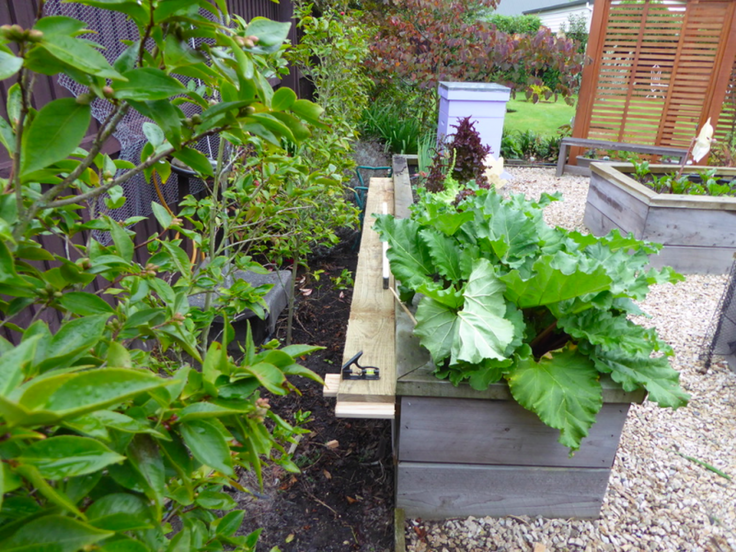
I had to contend with a busy beehive whilst sinking the posts into the ground. I have also had to adjust the line of the posts to skirt around an old rose bush behind the beehive that is 'too precious' to dig out.(not my words and a battle I was not going to win!). It has been too hot and humid here to work outside past 2pm. Not what you want to hear in the distant shores of freezing Europe I know. Being an expat Pom I have also been watching the test match cricket here in NZ. Great game! When I moved here 15 years ago I said I inherited a great rugby team but a shocker of a cricket team. My opinion may change!
Anyway, here are the latest photos of the Applebee and Lavender Line.
Progress
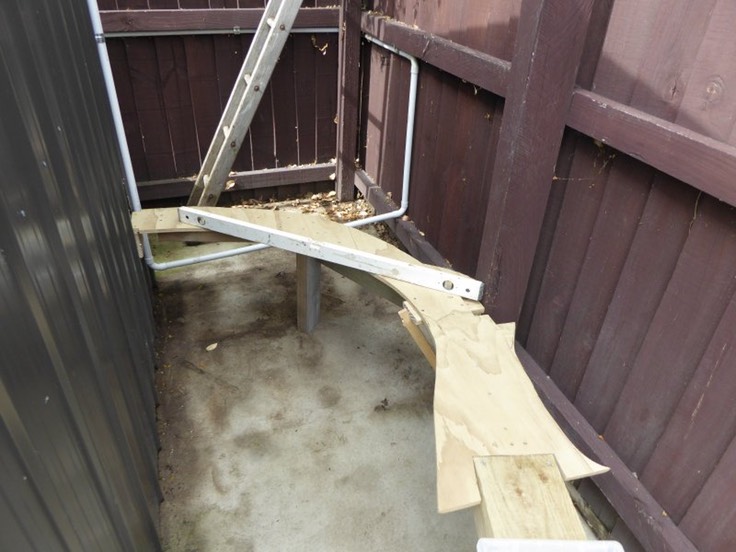
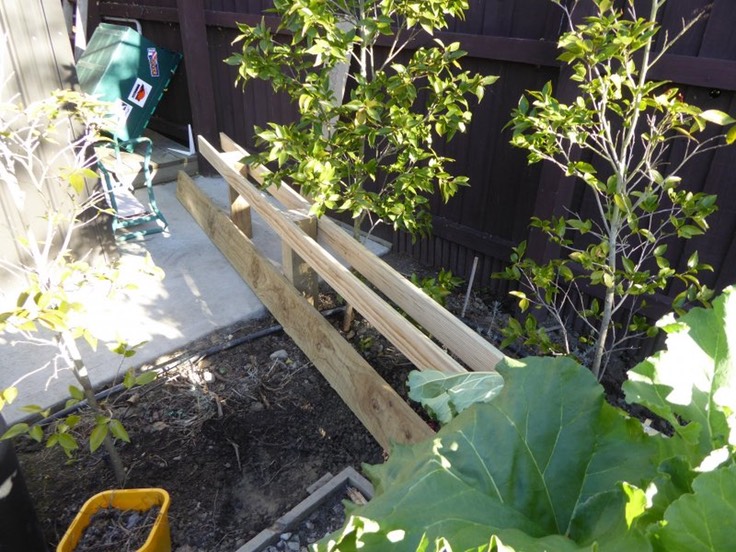
Today the plywood curve fashioned yesterday was fixed in place between the existing railbed and the shed. I need to make some leg supports for it and run some longitudinals under the plywood to strengthen it.Then a cold front passed north up the south island of New Zealand and the temperature dropped from 24 to 10C. That was enough to call it a day. Autumn is just around the corner for us.
My next job is to cut a hole in the shed and make a mouse proof flap. That means that when I return from sea at the beginning of July it will be the depths of winter here and I will busy myself with constructing the storage yard boards in the shed. If I can get the hole cut and the flap constructed before I go away I will be happy.
Frustration
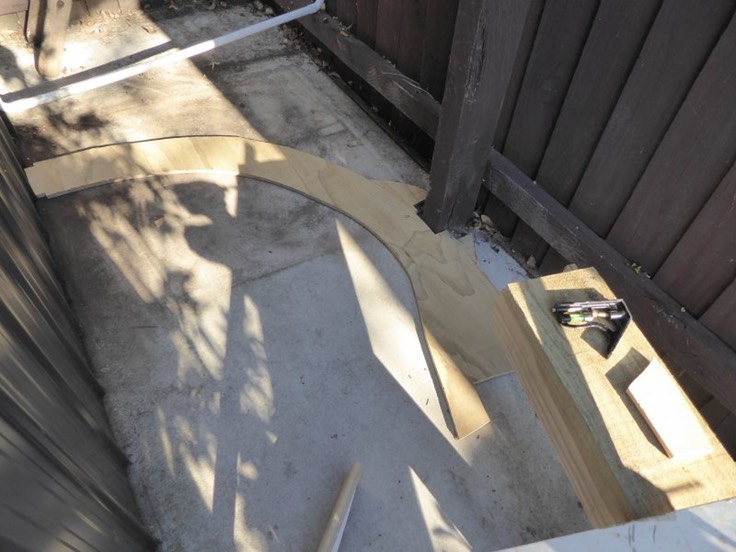
How the hell can cutting a piece of plywood into a radius be so difficult.
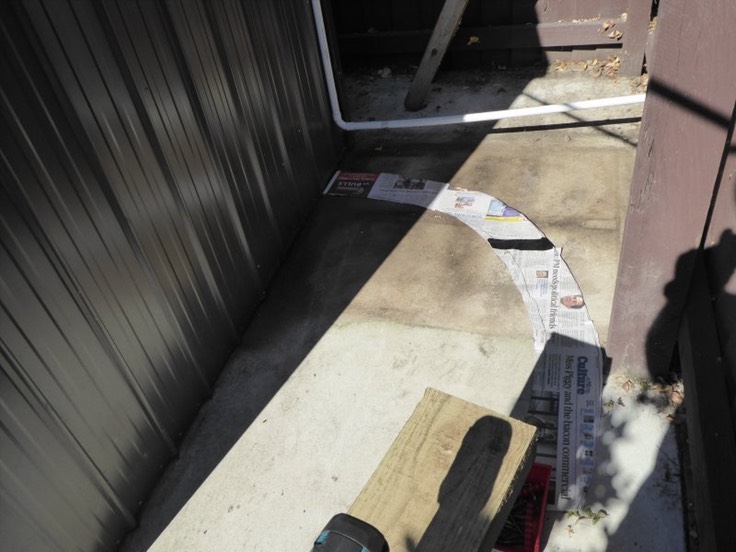
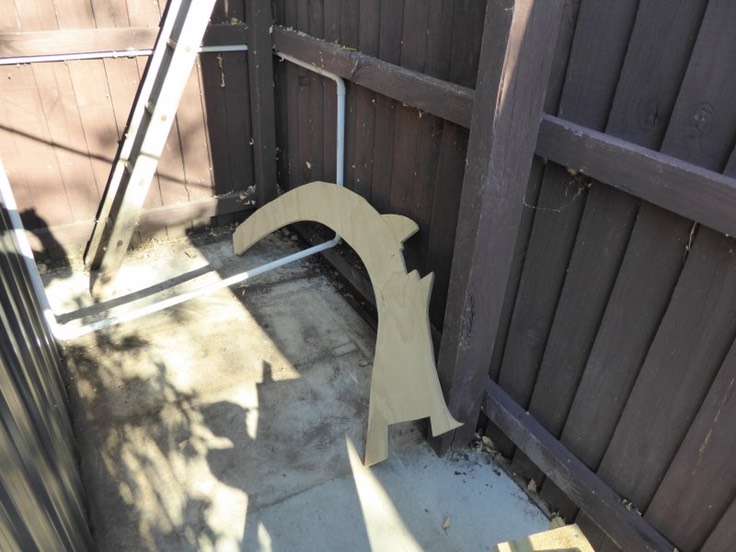
The geometry of the curve into the shed is not a constant radius due to the relative positions of where I want the railway to enter the shed and a fence post upon which the board will sit. But please. 4 hours it took me. 4 hours in 27C heat. There were some choice words I can tell you. My son Leo, came out after 3 hours of struggle and said "Duh, why dont you cut a paper template first!" So armed with a few pieces of flexible track and a few sheets of news paper stuck together with tape a template was duly made and the plywood cut. It did not fit. So a bit of judicious hacking with a jigsaw and voila. I have what I set out to do 4 hours earlier. I cooled off with a visit to my local model shop, Iron Horse hobbies in Christchurch. There are so many pretty things to buy. I resisted. Wood needs buying first.
Its been a frustrating day. Not much progress for a lot of time spent. Here are the photos of my labours. Pathetic!

more trackbed
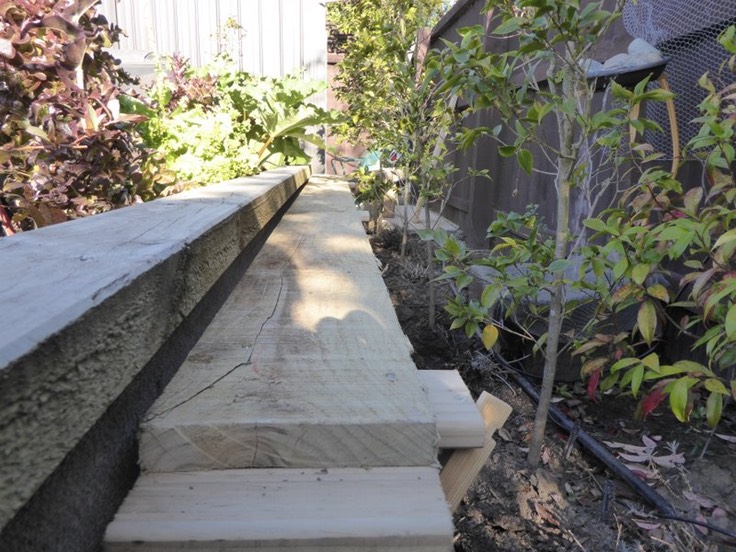
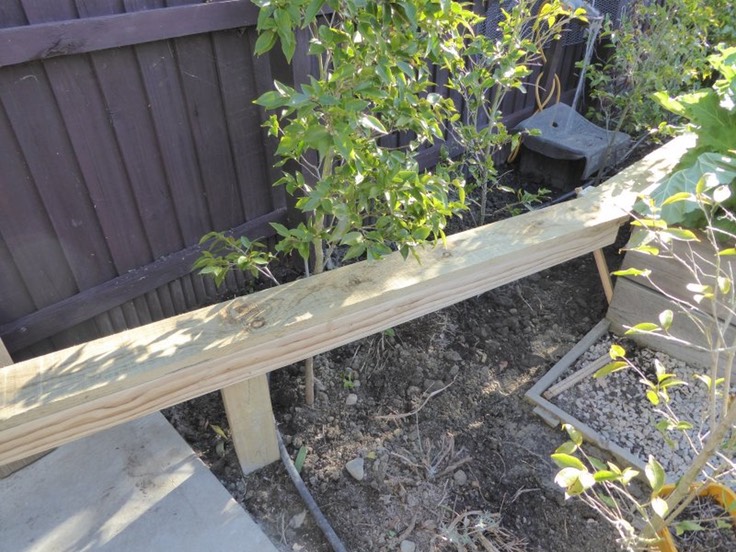
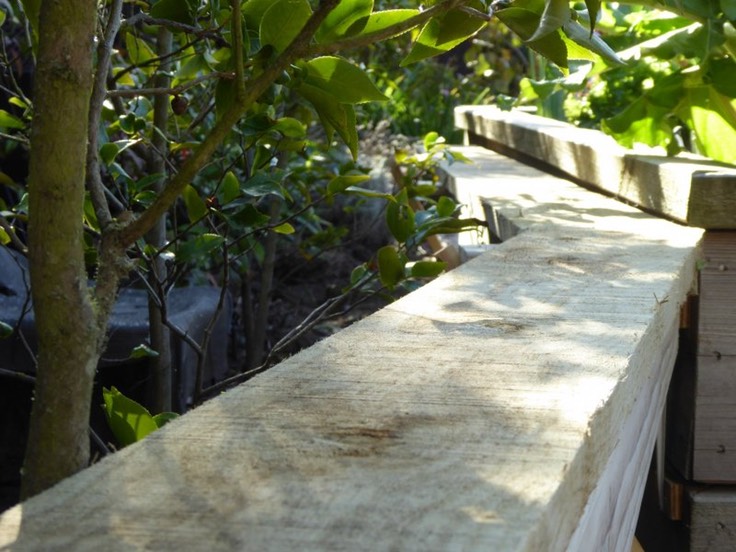
The remaining brackets were fitted to the back of the veggie patch and the top board secured to them. I did not like the brackets I bought. A little flimsy so I added some bracing by them to stiffen things up a little. Pleased with the result. I need more brackets later and will invest in stronger ones.
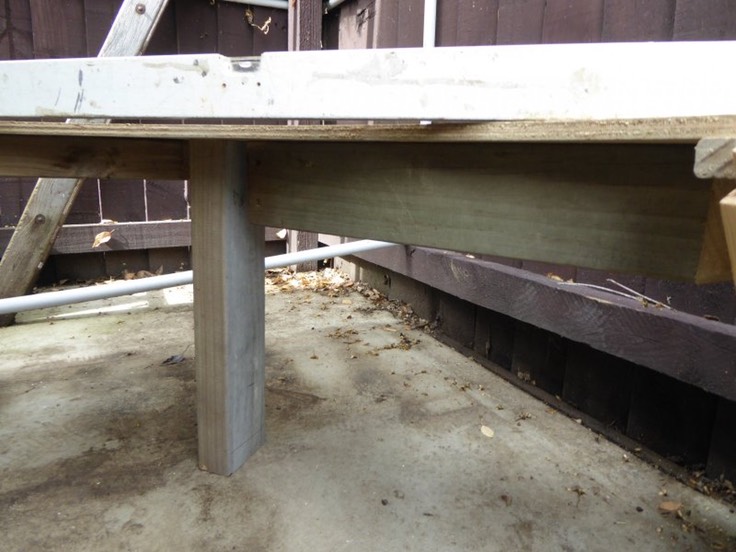
Sunk my first post into the ground and secured it with post-fix, a rapid setting concrete. It sets solid in 15 minutes. Once that was in I added the decking supports and braced them ensuring everything was as level as I could get it length wise and across ways. Whilst not exact the bubble on the level is between the two lines on my spirit level so I think thats good enough. The top boards as mentioned before are tanalised 150x25mm. They are meant for retaining walls and landscaping. They are not planed but are straight and true. Still wondering whether to cover them with something instead of painting them.
The next job is to form the curve that will lead into the shed. I bought a sheet of tanalised 18mm ply to cut the bed out of. Still not sure what to do yet as I do like the 150x25 boards but not sure how to get them around a curve or indeed how to get my decking supports around a curve. We shall see. Once that curve is in place it will give me the level to cut a hole into the shed and then I can construct the baseboard that will form the storage yard.
Here are the pictures of todays efforts.
First trackbed.
At last construction has begun on the Applebee and Lavender line. It has taken time. Every time I ventured to the shed to make a start something else cropped up that needed my attention.
Today was the day. I got the tools out of the shed, screwed one bracket to the back of a raised veggie bed and the heavens opened. But it is a start. The track bed is 150mm x 25 mm tanalised timber that will be painted to match the fence behind. It impossible to get hold of roofing felt here in NZ. Does not seem to exist here so the boards will be painted with fence paint instead. Once it clears the veggie bed it will be supported by 100x100 mm posts concreted into the ground. Decking board mounted vertically and screwed horizontally between the posts will support the boards on top. Hope that makes sense. Future photos will show what I mean eventually. I have taken note of all the comments about distance between supports, warping and so forth and hope I have it all covered. Time will tell.
Cant wait for the rain to stop. Tomorrow is saturday here in New Zealand and I am umpiring a local cricket match. Construction will need to wait until Sunday and the forecast is not so good. We will see.
Day one of construction.
A start
I looked at a plan to go around the raised veggie bed area. However getting across the front of it where it meets the lawn would mean a removable section of around 17 feet in length for wheel barrow access and the like. Secondly, getting it into the shed without falling foul of laundry on the washing line would be an issue. So I have had to rule that out. There needs to be access to the beehive too. The permanent way tracklayers will need to wear a bee suit when working in the vicinity of that.
Phase 1 in all honesty will probably end up as phase 1a, 1b and so on. The thought of having phases 1 to 8 was disheartening. I am only kidding myself I know but the art of kidology is amazing!
I need to look at the minimum radii in the garden where the loop would be and the space available to me. I have a formidable gardener to contend with! I have given her a track plan and challenged her to come up with a plant plan. Devious I know but it may work.
The garden is flat all around. I have done a quick survey at night with a laser level that you use on the house to put level lines for shelves and so on. I sat my drill clamped into a B+D workmate, levelled it, sat the laser on a piece of plywood with a screw though the centre and held it in the drill chuck and spun it slowly. Its an 18V cordless drill with a screwdriver setting so spun nice a slowly using an elastic band around the trigger to get a slow speed. Then ran around the garden with bamboo sticks and marked them where the laser shone on them. It works well and that light goes for ever. There is a gentle slope but nothing much. I had thought of a rockery but it would look silly. A pimple on a pancake unless it was a huge rockery. That is out. Refer to the point above.
I am hoping that planting will help 'hide' parts of the line so that the trains are never in view all the time from all the garden. I am hoping that as I progress ideas will pop into my head. Maybe a line of low buxus hedging in places to great natural barriers and so on. I will see what the gardener of the household comes up with. I know she wants more fruits trees in the back part of the garden. The layout will mainly be british outline. However it will run past pomegranate bushes and lime and lemon trees. With a fig too. Dont remember seeing too many of them when travelling on the uk network.
I have had Lancashire Witch for 25 years. She was bought as a birthday present from Hattons in Liverpool by my wife for our fifth wedding anniversary. She has sat in her box all that time. She has probably only ever run for an hour at the most. I think code 100 rail should be fine. Finescale....forget it. I will certainly try her out. She has to run. Even if it is only out and return on a long stretch. She is now sat on a table in the lounge. Every time I see her I get motivated to get out and do something. I have a little notebook full of stuff I have learned from this forum on construction, points, electrics and so on.
I plan to sort the shed out, build the fiddle yard and the back leg as far as the beehive to start with. That will give me something to operate and motivate me.
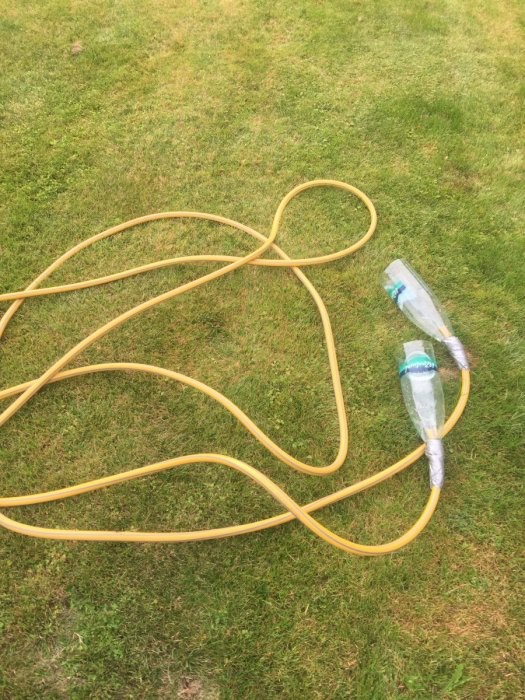
I have spent the day getting the lay of the land. Using the trusted method of a bit of garden hose and two plastic bottles, duct tape and water the level of the intended track was marked around the place and also in the garden shed. This now gives me an idea of where to route the track and the height of the baseboard in the shed. It also allowed me to show my wife that her garden would not be 'ruined' by an ugly train track through her herbaceous borders. Construction is imminent. I hope. A short 10 day trip on a motorcycle to the North Island of New Zealand with a group of mates starts tomorrow. Then the first timber will be cut.
Some thoughts
Good evening from Woodend just north of Christchurch in New Zealand.
I am coming into this after many years away from the hobby. family, job and so forth are the usual reasons that it has been a while. Growing up in the 60s, 70s and some of the 80s in the UK I had loft layouts and 6x4s in the garage and now it is time to tackle a garden layout. Mainly because I have no space indoors but plenty outside. None of my old stock remains. Goodness knows where it all went. 25 years ago my wife bought me the Lancashire Witch 4-6-0 LMS loco made by Wrenn. It has sat in its original box for all that time. We moved from Shaftesbury to New Zealand, back to Trowbridge after a nasty earthquake here and finally back to New Zealand. I now have space to play with. However I have the following initial challenges.
1. My wife thinks my idea of a garden railway is idiotic. Your'e 57 she said. It better not spoil the look of my garden she said.
2. I work on a cruise ship so I am away for long spells. But then I am home for long spells too. I have downloaded youtube videos galore to see me through until I return to inspire me when I can't get internet.
3. I need to get the Lancashire Witch up and running in the New Zealand sunshine. I also have my sons very old Thomas set somewhere in the loft and the old mainline Jinty in bits in a bag somewhere. Thats it. Oh, I also have a picture in my head. One of my sons is a dab hand at modelling those wargaming characters and is on my side!
I thought maybe I could post some pictures of my plot and you could pitch in with some ideas. The trackbed will need to be raised above the ground and I will need some removable sections for access but lets see.